The Sound Effects Editor - Pitch Mode
Last time, I got my sprite, Ferb, to hop with a key/button. Today, I want to add sound effects when he does. Let's dive into the sound effects (SFX) editor of PICO-8.
Boot up PICO-8 and hit ESC to create a new project. I'll use this to go over the SFX editor before trying to incorporate code into my FERB project. This way I won't mess up Ferb.
SFX Editor
You get into the SFX editor by tapping the icon on the main menu bar that looks like a little speaker (the 2nd one on the right). When I do that this is what I get.
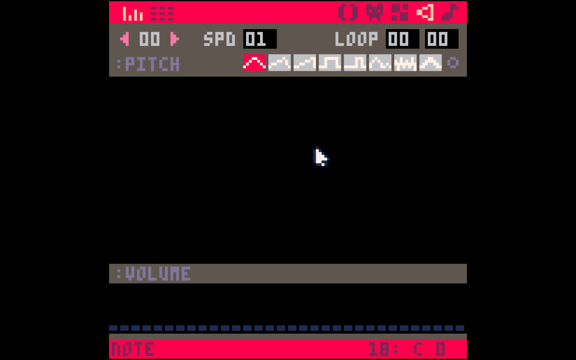
Let's go over each of the controls.
The SFX editor has two modes that you can toggle between using the two buttons on the main menu bar. The first:

puts you into "Pitch" mode. Pitch mode allows you to graphically lay out a sound, adjust it's volume, and do other things we'll cover. The next button
puts you into "Tracker" mode. This mode allows you to edit the details of every note. Generally, tracker mode is good for writing game music while pitch mode its easier to use and good for individual sounds and sound effects. You can also hit the tab key on the keyboard to switch between these two.
Let's stay in pitch mode for now.
This button allows you select which individual sound or effect. PICO-8 supports up to 64 (0-63) effects and each one can have 32 notes. The number displays the index of the selected SFX.
The SPD (speed) button allows you to adjust the playback speed of your sound. Tapping the number will increase the number, right-clicking will decrease it. One thing to remember is the, greater the value, the slower the playback.
The LOOP control allows you to loop over a section of your sound. Again, each sound can have 32 notes. The first number is the note on which the loop starts, the second number is the note at the end of the loop. One thing to remember is regardless of the settings, the notes prior to the first number will still be played, and no notes after the second number will be played because of the loop.
The :PITCH is just a label. It doesn't do anything except tell you you are in pitch mode.
It also reminds you that the big black area displays the pitch of each note. If you drag your cursor over the black area you can draw your sound effect. Here is mine.
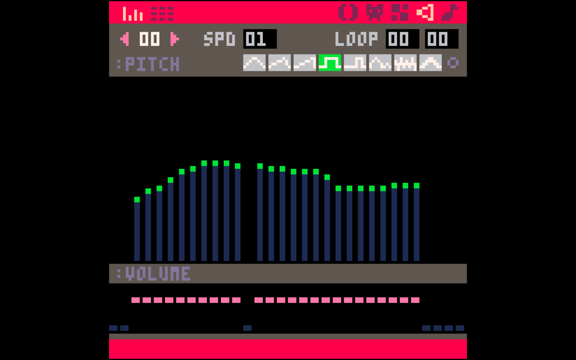
Each vertical bar indicates a note. The height of the bar indicates its pitch. The higher the bar the higher the pitch. You can draw or redraw the sound as many times as you need. You can also grab a note and drag it up and down to adjust an individual note's pitch. Tap the space bar on the keyboard to play the sound. If you set looping using the LOOP control, you get two indicators that show you the extent of the loop.
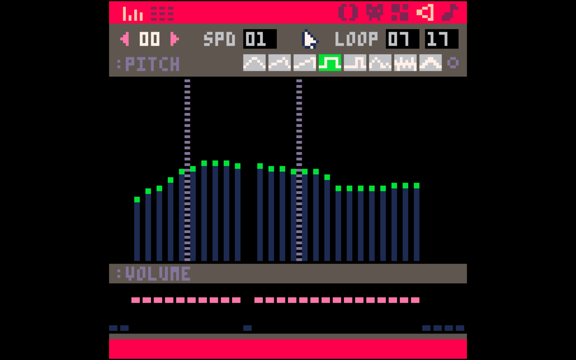
The last control in the upper section is a palette of buttons.

Each button allows you to select the waveform of sound that is applied to your effect. From left to right the waveforms are:
- Triangle
- Tilted saw
- Saw
- Square
- Pulse
- Organ
- Noise
- Phaser
The circular control toggles between graphical buttons and numeric buttons for the same thing.
You can use these buttons two different ways. First you can hold the shift key down on the keyboard and click a button. This will apply the selected waveform to all of your notes. It will also change the color at the top of each affected note. In the screenshots above, I have the square wave selected. It's green. Every note in my sound has a green dot. That tells you the waveform the note is using. The second way is to click a button and then tap a dot to change an individual note. This way you can color the sound of each note (pun intended). Here's my example.
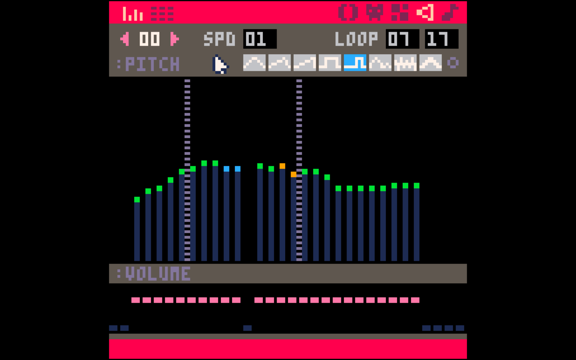
Below the main area is another label, :VOLUME. This is a reminder that the area below the label controls the volume of each note. This is populated by pink dots that correspond to each of the notes above. You can grab a pink dot and drag it up and down to adjust the volume of the note. The color of the dot changes based on the volume you select. As in the main section, you can draw a volume curve instead of adjusting individual volumes. To silence a note, just drag its volume to the very bottom.
Play around with pitch mode until you feel comfortable. I'll cover tracker mode next time. For now, I want to give Ferb some sounds. Load up your Ferb program.
Using Sound Effects in Code
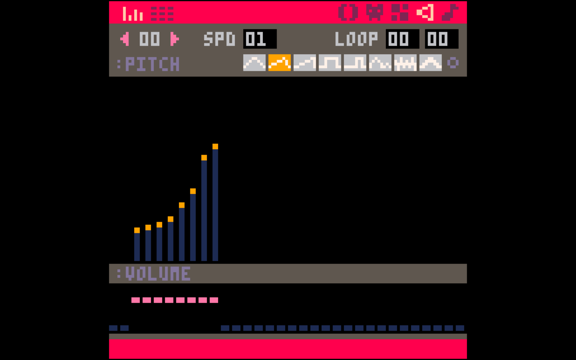
Create a sound effect for Ferb jumping. This is mine.
To use the sound effect, we need to add some code.
sfx(index, channel, offset)
Is the command to play an effect. index is the number in the upper left of the SFX editor. My sound is in 0. PICO-8 supports 4 channels of sound (0-3), so you can play sounds simultaneously if they are on different channels. The default is -1, which will choose an unused channel. I'll just use 0. offset lets you specify which note of an effect to start on. You don't have to start at the beginning. So my command will be:
sfx(0,0,0)
To stop a sound effect you call:
sfx(-1, channel)
Because my sound doesn't loop I don't need to use this.
Where to put the jump sound? Well, the most logical place would be in the function that tests for the up key being pressed.
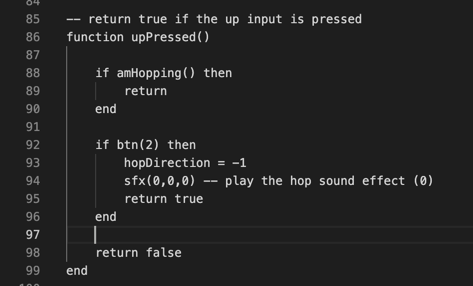
Running the program shows me this works nicely. Now I want to make a sound for when Ferb runs–a footstep type sound. This is easy. It's just a single note at low volume with the noise waveform applied.
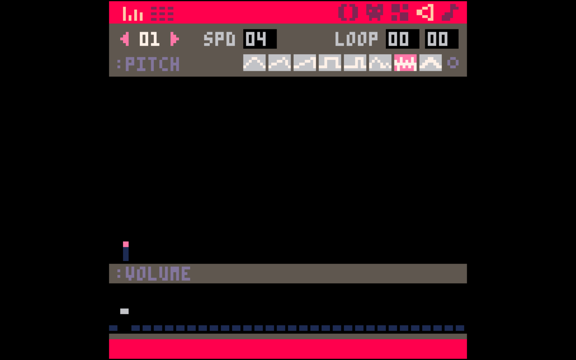
I'll call this in my moveSprite function and assign it to channel 1 so that it doesn't impact the jump sound. Because Ferb is always running, I don't have to worry about turning the footsteps off.

We now can hear Ferb running and hopping. I'd say that's enough for now. Again, here is my cart if you want to play it and look at the code.
