The Sprite Editor
Today, I'm going to tackle the PICO-8 sprite editor. A sprite is an animated character.
Up until now I've been animating text and basic shapes. I want to do something more interesting, so I'll learn about animating sprites. First, a word of disclaimer. I'm not an artist. I literally have no ability to draw, sketch, or even doodle (I have afantasia). The graphic sprites are going to be basic.
Boot up PICO-8 and get into the text editor and load the program I worked on last time. Here it is:
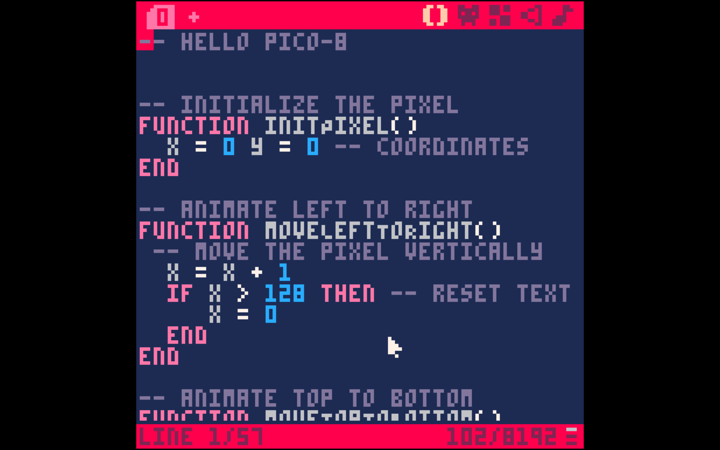
Main Menu
Let's talk about the red menu line along the top. From left to right:
 This shows you the source editor "pages". The screen above is page 0. Tapping the + will add other pages. This is a nice way to grow your program and organize your code and functions. Additional pages will show up next to the 0.
Next, is a set of parentheses: ().
 Clicking on this will bring up the source code editor. That's why the color is tan in this image.
The next icon button switches to the sprite editor. We'll talk about the sprite editor next.

The map editor is next. This is where you can create terrain and backgrounds.

PICO-8 also has a built in sound editor.

And finally, the music editor.

I'll dive into each of these in future posts. Today, I want to focus on the sprite editor. Let's go! Click on the sprite editor icon/button.
Sprite Editor
This is the sprite editor.
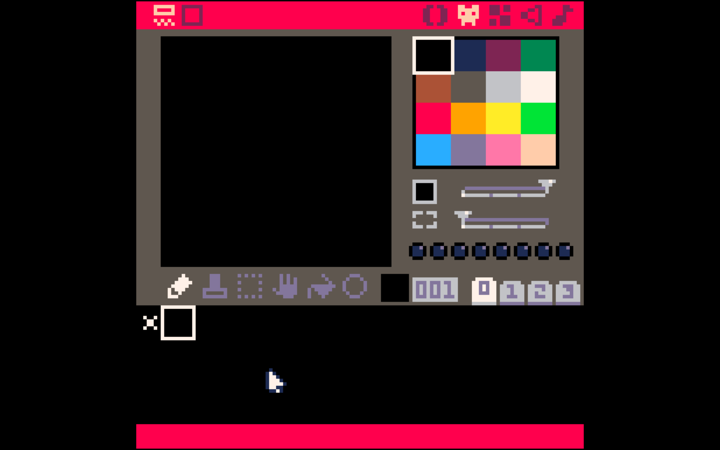
It may look complicated, but it's straightforward if you focus on each area. The menu is still at the top and now the sprite editor button is highlighted in tan. Below that on the left is a big black square where you draw and design your sprite with the cursor. The PICO-8 16 standard colors are to the right, this is the palette. Below that is a control that has 4 settings. This allows you to control the size your cursor draws. Here is a screenshot of me clicking once with each of the 4 sizes.
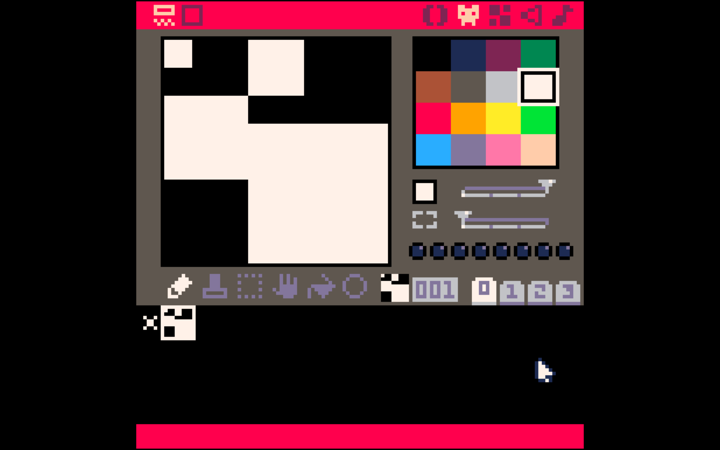
Below that is another control. This one is more difficult to explain. It acts as a zoom control with 4 settings. It adjusts the size of the sprite being drawn by increasing the area in which to draw. To better explain this I need to describe the area on the bottom. This is the sprite sheet–the sprite library. This is where all of your sprites live. The first item looks like an x.
This is sprite number 0. Sprites in the sprite library are numbered from 0. In the above image, my 4 squares are in sprite 1 and are selected because there is a white square around it.. You know this is sprite number 1 because above it there is another copy of my sprite with the number 001 next to it. If you click on the x it will change to 000.
Back to the zoom control. By default a sprite is 8 x 8 pixels which can be set in code. Each "notch" in the control is a 2x zoom: 1,2, 4, 8x. Here is another example to show the effect between zoom level 1 and 8.
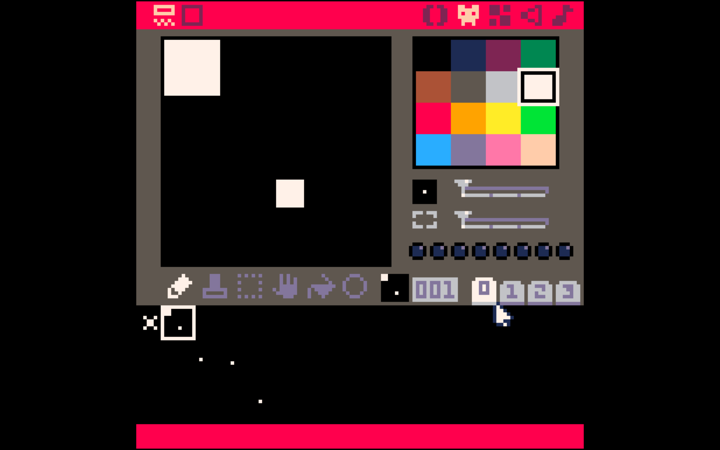
Note how the white square changes in the sprite sheet at 8x.
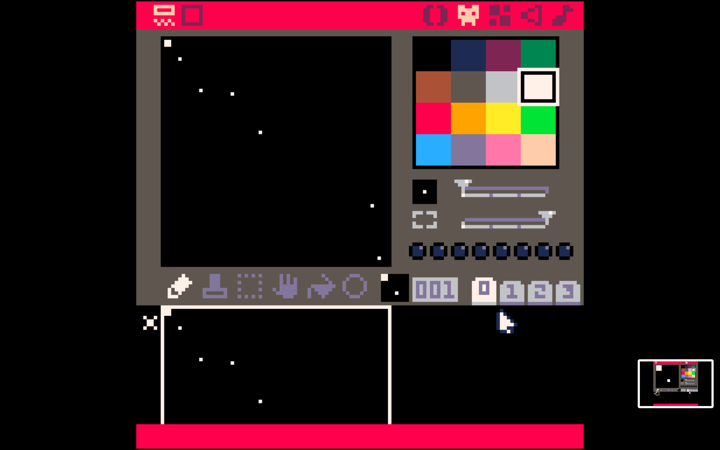
Also note that at 8x, the sprite is still 001 and the little preview still shows the 8x8 section. But the main sprite editor shows a larger area. This will take time to get used to and figure out.
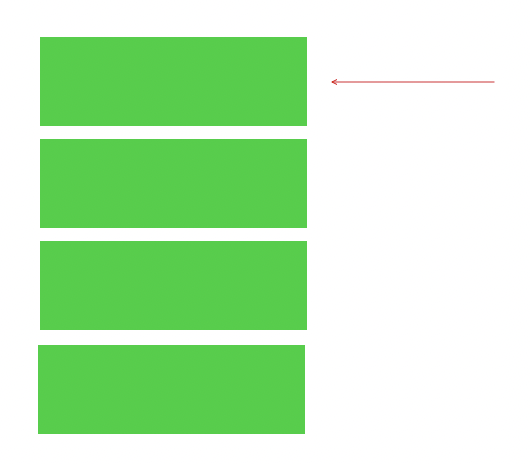
Just above the sprite sheet is another set of controls. From left to right these are your pencil, a stamp tool, a selection tool, a hand (pan tool) which allows you to grab your sprite and move it around, a fill tool, and a circle tool. Play with each of these. One thing to note with the circle tool is it draws from the upper-left of the circle, not around the center. We already mentioned the sprite preview and the sprite number. To the right of that is a set of 4 toggles that correspond to a section of the sprite sheet. The sections are stacked vertically. It's currently showing section 0. Here is a diagram that illustrates what I mean. The arrow points to the selected section 0.
Above this line of tools is a set of bubbles (radio buttons).

These allow you to set flags on your sprite. You can then use these flags in your code. They have no built-in meaning or purpose. That's up to us to determine. The flags, like the sprites are numbered starting at 0. If you hover the cursor over a bubble, the status line (the red line on the very bottom will show you its value.
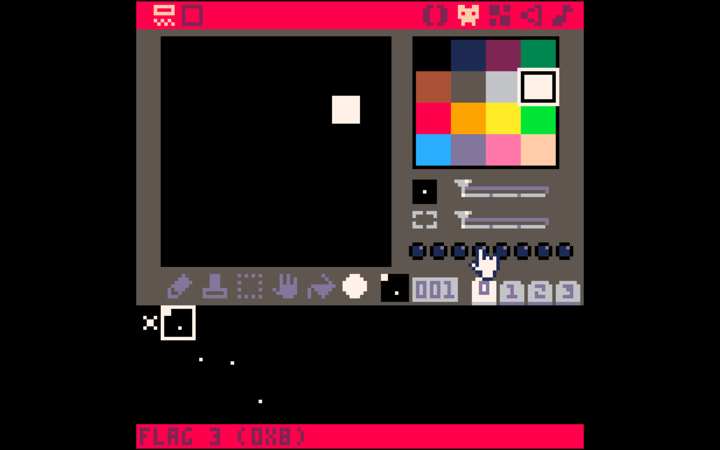
The status line will also show you the x,y coordinate of the cursor when you are drawing your image, as well as other information depending on what you do.
One other thing, you can copy and paste (using the standard shortcuts) a sprite using the sprite sheet. This will allow you to duplicate sprites.
That's it for the sprite editor. We haven't written any real code this time, but we are ready to actually draw and animate sprites. That's next time.